Guide
Advanced Plating Techniques: Composition and Negative Space in Fine Dining
This guide bridges the gap between home cooking and fine-dining presentation by focusing on the deliberate use of negative space and composition. Learn how to treat the plate as a canvas, ensuring every component serves a purpose while maintaining professional temperature and precision.
Section 1: The Principle of Negative Space
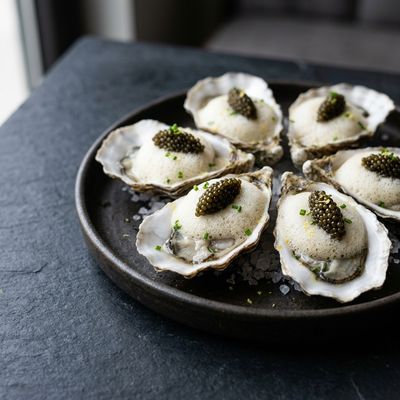
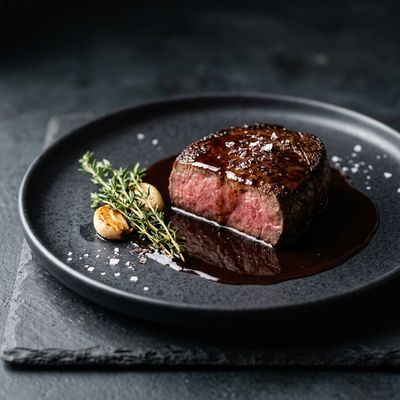
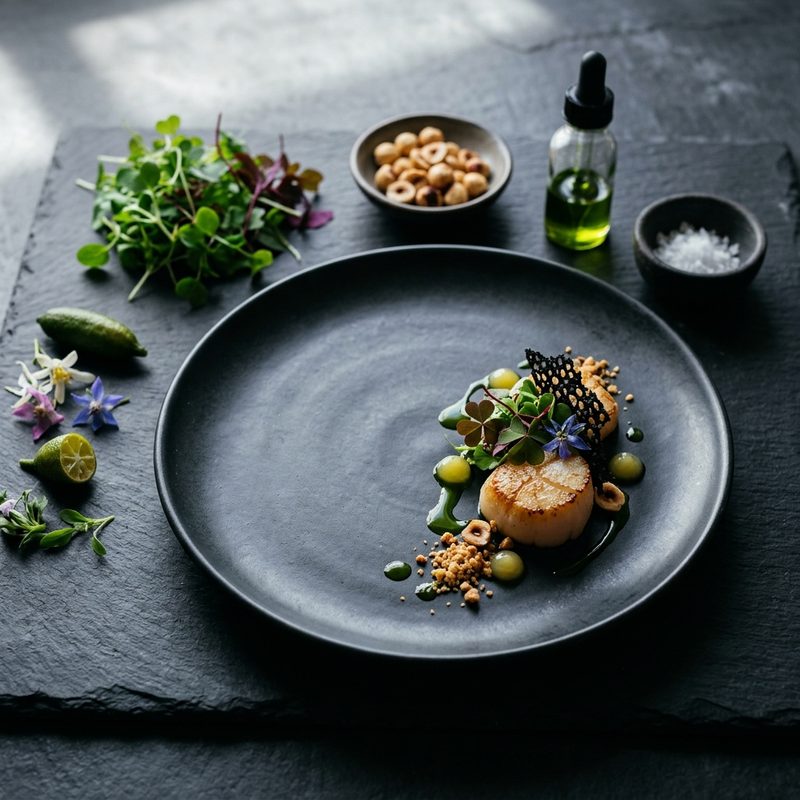
Negative space, often called 'white space,' is the area of the plate left empty. In a fine-dining context, this is not an absence of food but a deliberate tool used to draw the eye toward the focal point. Aim for a ratio where 30% to 50% of the plate remains unoccupied. This prevents the plate from looking cluttered and allows the colors and textures of the ingredients to stand out. When plating at home, resist the urge to fill the plate to the edges; keeping components centered or offset to one side creates a more intentional, curated look.
Section 2: Temperature Control and Mise en Place
Professional plating fails if the food is cold. Warm your plates in an oven set to 60°C (140°F) for at least 10 minutes prior to service. Ensure all components are ready at their respective temperatures—purees at 75°C, proteins rested for 5-8 minutes, and garnishes at room temperature. Use a clean kitchen towel or 'servis' to wipe the rim of every plate immediately before it leaves the pass. If you skip warming the plates at home, your sauces will break and your protein will lose its internal temperature within three minutes.
Section 3: Establishing the Focal Point (The Rule of Thirds)
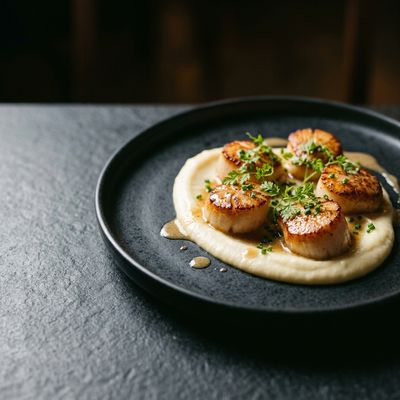
Divide your plate into an imaginary 3x3 grid. Avoid placing the main protein dead-center, which can look static and dated. Instead, place the primary element on one of the intersecting lines of the grid. This creates dynamic tension and visual interest. Start with your 'anchor'—usually a puree or a starch base—and build upward. In a professional kitchen, we use the 'clock' method: protein at 6 o'clock, starch at 10, and vegetables at 2. For a modern aesthetic, try an offset composition where all elements are grouped tightly on the right third of the plate, leaving the left two-thirds entirely empty.
Section 4: The Art of the Puree and Fluidity
Purees should be passed through a fine-mesh chinois (sieve) to ensure a silky texture. To execute a 'swoosh,' place a 30g dollop of puree slightly off-center. Use the back of a heavy tablespoon to press into the center of the dollop and drag it in a swift, curved motion. For home cooks, a squeeze bottle offers more control for 'dots' of sauce. Vary the size of the dots (large, medium, small) to create a sense of movement across the plate. Skipping the chinois step results in a grainy texture that lacks the reflective sheen required for high-end presentation.
Section 5: Final Garnishing and Height
Verticality is essential for a professional look. Use tweezers to place microgreens or herbs precisely. Do not scatter them; place them where they naturally look like they are growing out of the dish. Use 'crunch' elements—like tuiles or toasted crumbs—to add height and hide the 'seams' where different components meet. Finally, finish with a high-quality finishing oil or a jus. If using a jus, pour it tableside or carefully around the base of the protein to avoid 'masking' the sear you worked hard to achieve.